Crafting exceptional hi-fi speakers requires artistry and exacting technical expertise. Mastering the engineering and assembly of audiophile-quality speaker systems enables constructing your own superior sounding creations to proudly enjoy or sell. Follow this guide to engineering and constructing mastering-grade loudspeakers using leading-edge methods and components.
Design Considerations
Several key factors impact your custom speaker design:
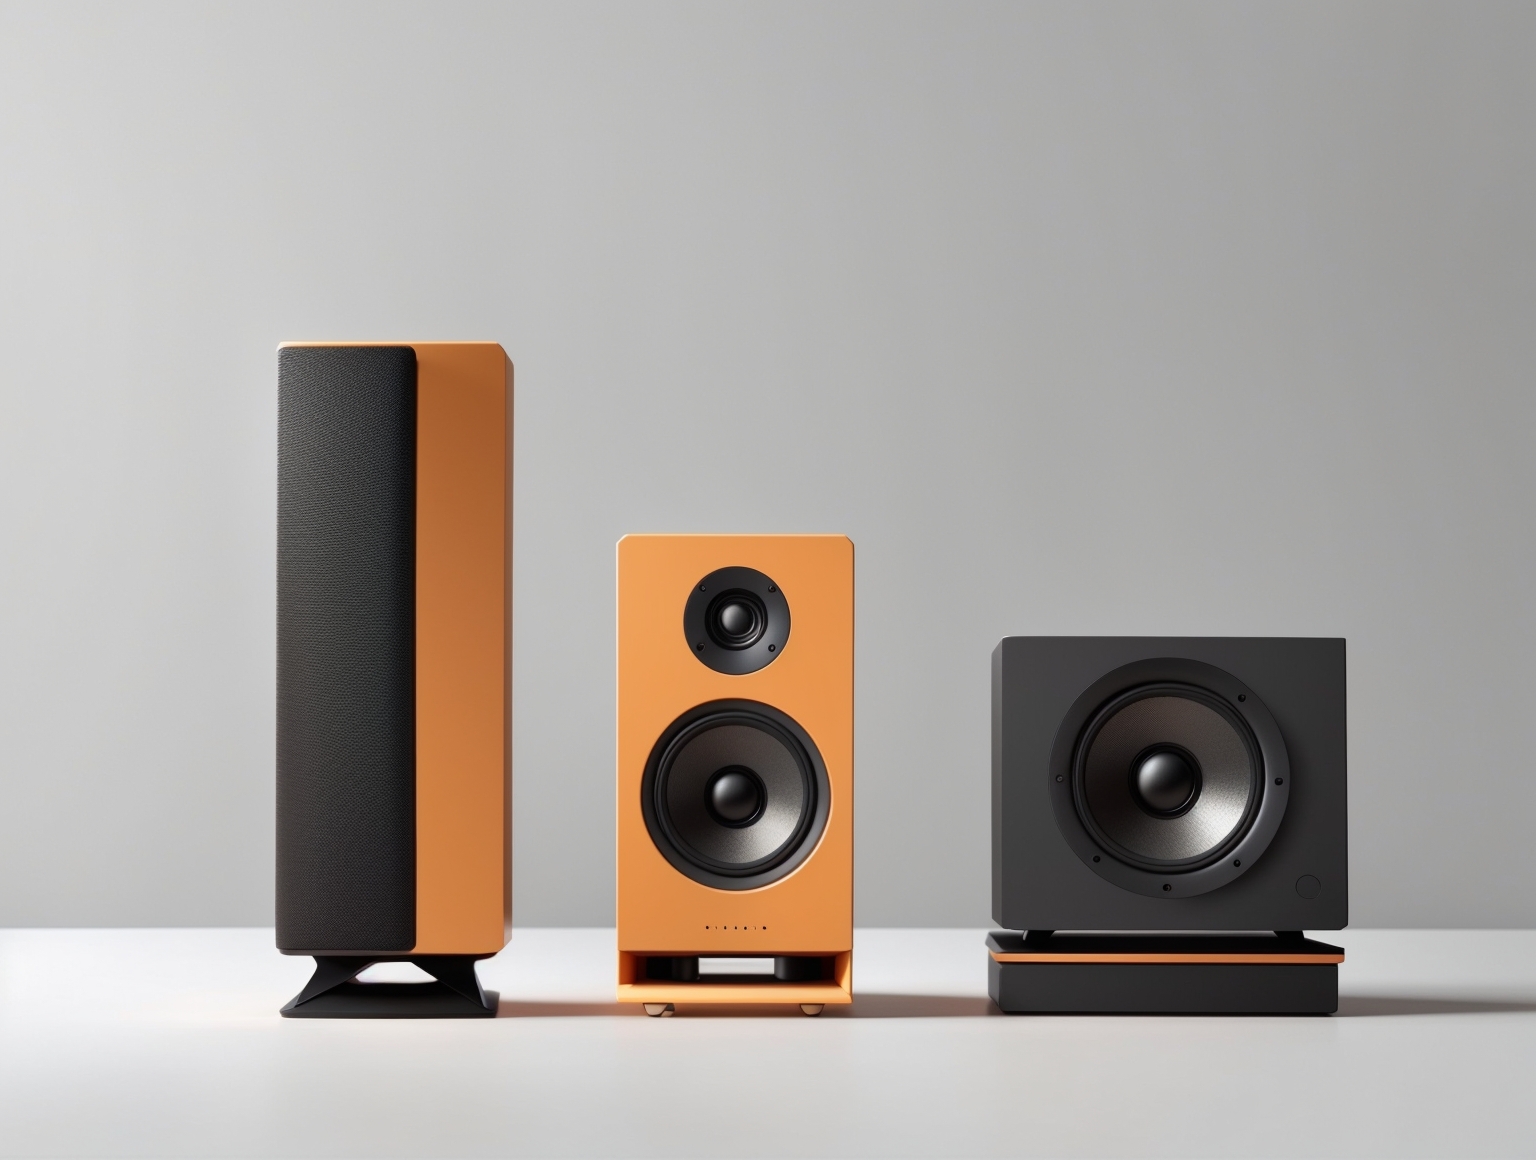
Type
Common speaker driver types include:
- Woofers – Large drivers that reproduce bass frequencies. Require enclosures.
- Midrange Drivers – Medium-sized drivers covering midrange frequencies essential for balanced sound.
- Tweeters – Small drivers producing high treble frequencies up through 20 kHz range.
- Full-range Drivers – Single drivers trying to cover all frequencies, often with poorer sound quality.
Multi-driver systems with specialized woofers, mids, and tweeters optimize range reproduction but cost more. Simpler single full-range drivers work for budget builds.
Enclosure
Base speaker function determines enclosure needs:
- Sealed – Provides more accurate bass for monitor/studio usage in a smaller footprint.
- Ported –Boosts bass response using ported tubes but requires more space. Better for home theater and listening rooms.
- Transmission Line – Uses long pathway within the cabinet to enhance bass notes. Requires expertise to properly tune and construct.
- Open Baffle – Removes the enclosure but compromises bass. Used mainly for uniquely dispersed midrange/treble.
Enclosure types alter speaker performance and complexity. Select the optimal box for your drivers and usage.
Wiring
Speakers wire in three configurations:
- Series – Connected end to end in a chain. Increases impedance.
- Parallel – Wired together at same points. Reduces impedance.
- Series-Parallel – Mixed wiring for multi-driver arrays. Allows fine tuning impedance.
Series nets higher impedances while parallel drops ohms, which can improve amp synergy. Choose wiring strategy suited for your drivers and target impedance.
Crossovers
Crossovers split frequencies between drivers. Passive crossovers use internal capacitors and inductors. Active crossovers split bands before amplification. Designing effective crossovers requires extensive signal analysis.
Complex crossovers maximize cohesive frequency hand-offs between drivers but add cost. Simpler first or second-order crossovers work for basic two or three-way builds.
Blueprint and Sketch Design
Map your speaker design before starting:
- Draw the cabinet design showing dimensions and port/driver details
- Note construction materials needed like wood type and thickness
- Calculate internal volume required for enclosure type
- Pick suitable drivers for your budget and usage
- Plan crossover design and frequency bands
- Select optimal wiring configuration and target impedance
- Research comparable existing speaker designs for inspiration
Sketching speaker blueprints provides a helpful visual guide during the build. Tweak concepts on paper first to perfect.
Model Performance Digitally
Digital tools like MATLAB and COMSOL Multiphysics simulate speaker concepts to optimize designs before cutting any wood. Software modeling lets you:
- Input cabinet parameters and view response curves
- Adjust port and crossover points virtually for optimal response
- Tweak box tuning and dimensions to refine performance
- Identify resonance issues needing damping
- Minimize wasted efforts and rework
While requiring some technical expertise, digital modeling better ensures your custom design performs well when constructed physically. Refine the blueprint first digitally.
Purchase Quality Speaker Drivers (speakers base)
Driver selection hugely impacts eventual sound quality. Trusted pro audio brands include:
Woofers: JBL, B&C, Beyma, Eighteen Sound, BMS
Mids: Scanspeak, SB Acoustics, SEAS, BMS, Morel
Tweeters: ScanSpeak, SEAS, SB Acoustics, BMS, Morel
Full-Range: Tang Band, BMS, Dayton Audio
Research driver technical specs like frequency response, sensitivity, power handling, and impedance ratings when comparing options. Expect to pay $50-$500 per driver based on type, size and materials. Quality drivers deliver performance worth the investment.
Select Durable Cabinet Materials
Cabinet material alters sound and durability:
- MDF – Affordable plywood alternative. Dense and acoustically inert but heavy.
- Baltic Birch Plywood – Offers stiffness with resonant damping. Consistent layers prevent voids.
- HDF – Extremely dense fiberboard perfect for ultra-rigid, acoustically dead cabinets. Hard to work with.
- Acrylic – Lightweight and rigid but difficult to cut cleanly and prone to cracking when routed.
Combine materials strategically like MDF bracing covered in special veneers. Wood remains ideal for warm, balanced sound enclosures.
Cut Cabinets Precisely
Cutting accurate speaker cabinet panels and braces prevents issues assembling:
- Use a table saw with fine-toothed carbide blade for cuts
- Carefully measure and mark all pieces from blueprints
- Clamp guide straightedges to the saw for perfectly straight cuts
- Sand cut edges gently with 150 grit to remove burrs before assembly
- Cut rounded port tubes using a router table and circle jig
Taking time with cabinet component cuts reduces the need for filler and complex joining steps later.
Join Cabinets Strongly
Assemble cabinets using structurally robust techniques:
- Glue and screw butt joints applying ample wood glue before fastening with coarse screws
- Use pocket hole joinery for angled connections screwing into hidden angled drill holes
- Cut dado grooves to accept shelves and braces for precise fit
- Use generous amounts of wood glue at all bonding points
- Reinforce with corner blocks and triangular braces where needed
- Clamp joints tightly until adhesive sets fully before unclamping
Strong joinery prevents cabinets from flexing or rattling which causes distortion. Construct for rigidity.
Damp and Brace Enclosures
Adding bracing and damping material inside the cabinet improves audio performance:
- Glue acoustic fiberboard, felt or foam strategically to limit panel resonances
- Install sturdy braces using rigid hardwood or MDF to limit cabinet flexing
- Use modeling clay, linseed putty or rubbery damping compounds on flat surfaces
- Stuff insulative wool like Rockwool into uneven voids
Treating interiors reduces undesirable cabinet vibration, echoes, and standing waves.
Install Drivers Securely
Mount drivers firmly to prevent movement that alters sound:
- Create starting holes slightly undersized from driver frame diameter before routing out in steps to custom fit
- Use a router with flush trim bit to cut driver opening recesses cleanly
- Shim any small gaps before screwing drivers into mounting holes or clamps
- Apply adhesive caulk or silicone around drivers to decouple and seal
- Install an adequate grille or metal mesh to protect drivers if needed
Snug, secured mounting translates driver motion directly into sound without compromising response.
Solder Sturdy Crossovers
Hand-solder crossovers meticulously using quality components:
- Purchase optimized crossover designs matching your exact drivers
- Use at least 2% silver solder with resin core for strength and conductivity
- Cover all solder joints with heat shrink tubing for insulation and mechanical rigidity
- Double check wiring matches circuit diagram polarity before soldering drivers
- Mount securely to prevent wires ripping from movement
Precision hand-soldering avoids weaker pre-manufactured crossovers that compromise performance.
Wire Properly in Enclosure
Making sturdy solderless connections inside the box enables easy tweaks:
- Use binding posts, loudspeaker terminals or SpeakON connectors for wiring points
- Run oxygen-free 12-16 gauge speaker cables inside the cabinet
- Make connections easily accessible through a removable driver or panel
- Label positive and negative terminals clearly on the cabinet exterior
- Secure cables neatly using adhesive holders or wire staples
Quality internal wiring and accessible connection points permit efficiently integrating components.
Apply Finishing Touches
Specialty finishing and design elements professionalize your custom speakers:
- Sand cabinet surfaces in progressive grits up to 400 before finishing
- Use wood filler to remedy any cosmetic cracks or gaps needing smoothing
- Stain or paint cabinets for an attractive look using proper preparation and sealers
- Add decorative metal corner protectors for durability and accent
- Brand your design with your logo engraving or metal badge
- Place speakers on custom-cut wooden plinth bases for isolation
Dedicated finishing steps help your speakers stand out aesthetically and functionally.
Validate Performance
Test finished speakers thoroughly to validate and compare achieved performance:
- Measure frequency response graphs against design goals
- Listen closely and make fine tunings to crossover points
- Check impedance curves match modeling predictions
- Verify soundstage imaging and stereo balance
- Calculate actual speaker efficiency and compare sensitivity
- Listen to reference tracks intimately noting all subtleties
Meticulous measurement and critical listening ensures your design principles translate accurately into constructed speakers before sale or use.
Polish Manufacturing Workflow
Refine speaker construction and testing processes for efficiency:
- Build custom jigs and templates for cutting repetitive cabinet components quickly
- Create master Sketchup or CAD plans for replicating successful models
- Setup an assembly line workflow to divide sub-tasks for speed
- Order materials like drivers and connectors in bulk for cost savings
- Identify bits and tools needed for each step to prevent slowdowns
- Document detailed manufacturing plans and procedures for consistency
Smoothing out production and standardizing your proven techniques scales output for selling your custom speakers.
Market Your Brand
Promote your speaker business and custom models:
- Build an elegant website showcasing your design story and offerings
- Create professional sales sheets with product images, descriptions and specifications
- Offer a signature model loudspeaker as your premier flagship product
- Exhibit at high-end audio trade shows and conventions
- Network with recording studios and mastering engineers
- Arrange product reviews in audiophile magazines praising your sound
Marketing directly to audio aficionados establishes reputation and trust for your engineering capabilities.
Continue Learning and Innovating
Ongoing education improves your designing:
- Read sound engineering books and publications to stay atop trends
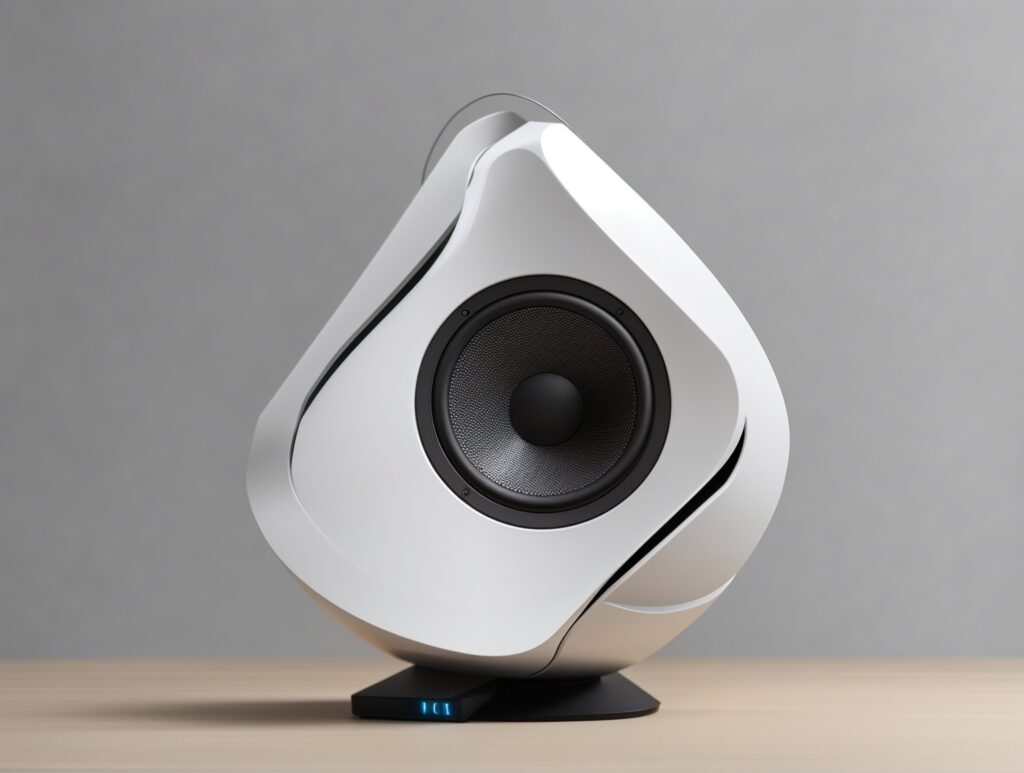
- Experiment with cabinet shapes and materials for unique acoustic properties
- Try novel driver configurations like concentric drivers
- Attend speaker building workshops and physics courses
- Join audiophile communities to exchange ideas and techniques
- Improve testing methods using laser interferometry and anechoic chambers
- Research bleeding-edge technologies like metamaterials
Pushing designs forward using the latest methods and innovations will keep your custom speakers extraordinary.
Building phenomenal speakers from scratch gives you total control to implement engineering feats that maximize audio performance. Master both artful design and meticulous technical construction to hand-craft your own mastering-grade listening showpieces.
Leave a Reply